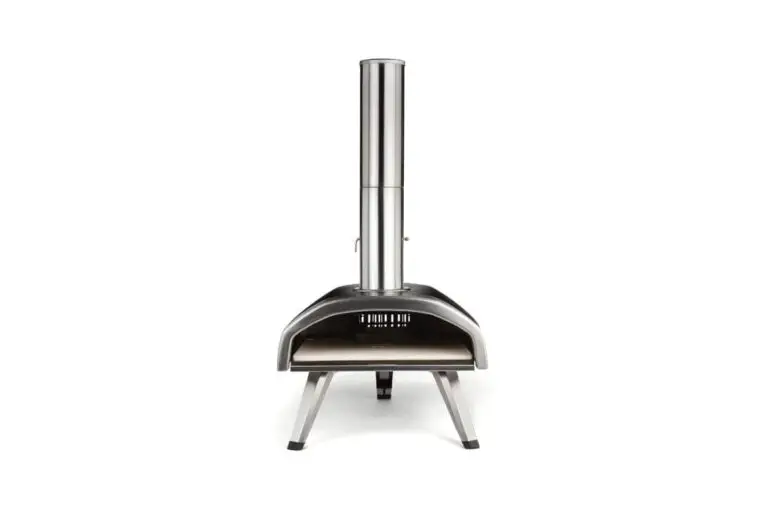
DIY Gas Burner For Pizza Oven! (Step By Step)
Last updated on September 11th, 2023 at 02:10 pm
If you own a pizza oven, you must know how tricky setting the temperature can be with a wood burner.
A gas burner is your best bet if you want your pizza to be crunchy, fresh, and relishing.
Plus, a gas burner needs minimum assembly work and saves time and money.
However, if you install the gas burner the wrong way, you might invalidate the warranty on your oven.
Reading this DIY step-by-step guide would be a wise decision.
First, make a hole in the oven’s floor for the gas burner. Next, fix the connectors in the burner. Then, connect the burner to the gas supply. At this point, make the connection as tight as possible to prevent a leak. Voilà, you have a gas burner that heats your pizza oven perfectly.
In this article, I’ll walk you through the step-by-step process of installing a gas burner for your pizza oven. I’ll then further teach you what you need to install it.
How To Install a Gas Burner For Your Pizza Oven?
Installing a gas burner is easy. And it gets easier if you work as a team with someone to set it up.
When installing a gas burner, I will lay out all the components and identify all the pieces.
Here’s a step-by-step guide to installing a DIY gas burner for your pizza oven;
#1. Create a Hole For the Burner To Fit Through
A driller should create the hole. Make sure you note the circumference of the burner before you start. So it isn’t too small or too big.
The hole’s circumference shouldn’t be weak after creating the hole to prevent a fall-in.
#2. Install the Burner Bracket
Once you create the hole, you can get ready to install the burner bracket. Place the insulating board on your oven hearth to line up the holes.
To be on the safe side, you can decide to use a strap to hold the hearth together while you mortar the joints.
After assembling the hearth, you can proceed with installing the burner bracket.
After installing the burner bracket, you can insert the gas burner and clamp it into position.
#3. Drilling the Hole For the Temperature Probe
To mount the temperature probe, you must drill a hole.
The temperature probe is what will give you the readout of the current temperature of the oven at any given time, and it will display on the controller interface.
#4. Always Pre-Moisten the Contact Surfaces
You should always moisten the contact surfaces before use. It will prevent the mortar from rapidly sucking moisture into the substructure.
I recommend cleaning your joints as you go along and keeping all your work surfaces free of mortar.
#5. Test-Run the Oven
Suppose you want to enjoy your oven. You have got to heat it without actually using it.
Follow these steps to heat your pizza oven;
- Connect the power line to an electrical outlet.
- Switch the main power on, set the temperature to 200 °F, and select “heat.”.
- The gas burner will ignite, and the oven will start heating up.
- On the second day, raise the cooking temperature to 400 °F and put the oven to “heat.”
- Every hour, raise the oven temperature by 100 degrees until the temperature reaches 800 degrees.
- The oven is now ready for regular usage.
What Do You Need To Install a Gas Burner For a Pizza Oven?
Below are some tools you need to install a gas burner for your pizza oven;
- Mortar
- Plaster
- Driller
- Burner Bracket
Is It Safe To Install the Gas Burner on Your Pizza Oven?
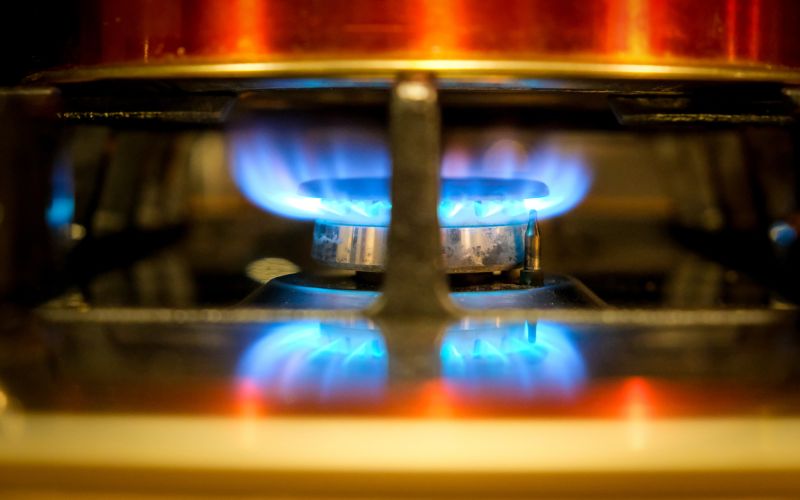
Yes, it is safe. Gas stoves are frequently utilized because they give both professional chefs and home cooks several advantages.
Besides providing improved temperature control and compatibility with a wide range of equipment, gas burners offer various cooking options.
To make the decision even easier for you. We added some essential safety tips. They include;
#1. Manage the Flame
Never turn your burners on when you are not cooking. It is dangerous.
Imagine a scenario where it has been on for some time, and immediately fire gets it to us, it flames. The flame in the gas trove can be handled with the knob.
#2. Monitor Carbon-Monoxide
As soon as possible, buy a carbon monoxide detector for your kitchen.
Although odorless and colorless, gas burners are one of the ways Carbon gets into the atmosphere. And they cause dizziness and nausea.
#3. Preventing Fire Leaks
Gas burners can cause fire hazards. So immediately, you sense a leak.
Stop using your burner and try to find where the problem is if you can’t call experts to help.
#4. Install a Fire Alarm
A fire alarm can distinguish between a burnt and solid house. Get a fire alarm for wherever you are using your pizza oven.
Differences Between Gas Burners and Wood For Your Pizza Oven
A pizza oven often works on either gas or wood energy. Various people have their preferences, but an insight into their differences will help you make an informed choice.
The table below shows the differences between a wood-fueled oven and a gas burner oven.
| Wood | Gas Burner |
|---|---|
| Without adding extra wood, you can’t keep a steady temperature. | It is easy to maintain at a constant temperature. |
| It cracks and sounds distinctive. | It runs silently. |
| Wood is flammable. | No need to store easily flammable wood. |
| Scattered. | Concentrated. |
| After use, there are ways for ashes to clear. | It reduces the cleaning of ashes. |
| The logging, gathering, and use could be hectic. | It is convenient. |
| To put it off, it could be stressful. | You can put it off at once. |
How To Cook Pizza In a Gas Oven?
The first time you make pizza with a gas oven. It might not come out as perfectly as you want.
With these few tricks, you can make the outcome better.
- If you have a pizza stone, place it in the oven.
- The next best option is a cast iron pan.
- As I said, you must preheat the oven before building your pizza.
- Create your Pizza
- Make sure you put in everything that makes it yummy and thick.
- Place the pizza on the pizza stone.
- Remember, the surface would be quite hot.
- Check your pizza after about seven minutes.
- If your oven cooks unevenly or pale, rotate the pizza.
- Do this rapidly to avoid heat loss.
- Remove the pizza from the oven.
- Remove the pizza from the pizza stone.
- Allow it to cool for a few minutes before slicing.
Best Temperature To Cook Pizza In a Gas Stove
Pizzas have different ingredients, which makes it hard to choose a perfect texture that would give you a crisp pizza.
However, 400 to 450 degrees Fahrenheit for most pizzas is preferable. Using a gas burner allows equal heat distribution to all edges of your pizza.
So, while using the gas stove, you can safely use the temperature range to get a terrific crust of toppings and cheese.
Alternatively, you can use two burners, with one flame directly over your meal.
Don’t be afraid to experiment with different cooking temperatures until you find what works.
Conclusion
Setting up a gas stove for your pizza is easy, and you can do it yourself. For precise instructions, consult your oven’s handbook with this DIY article.
According to many chefs, cooking with a gas burner yields a crispy crust with toppings cooked all through without being scorched.